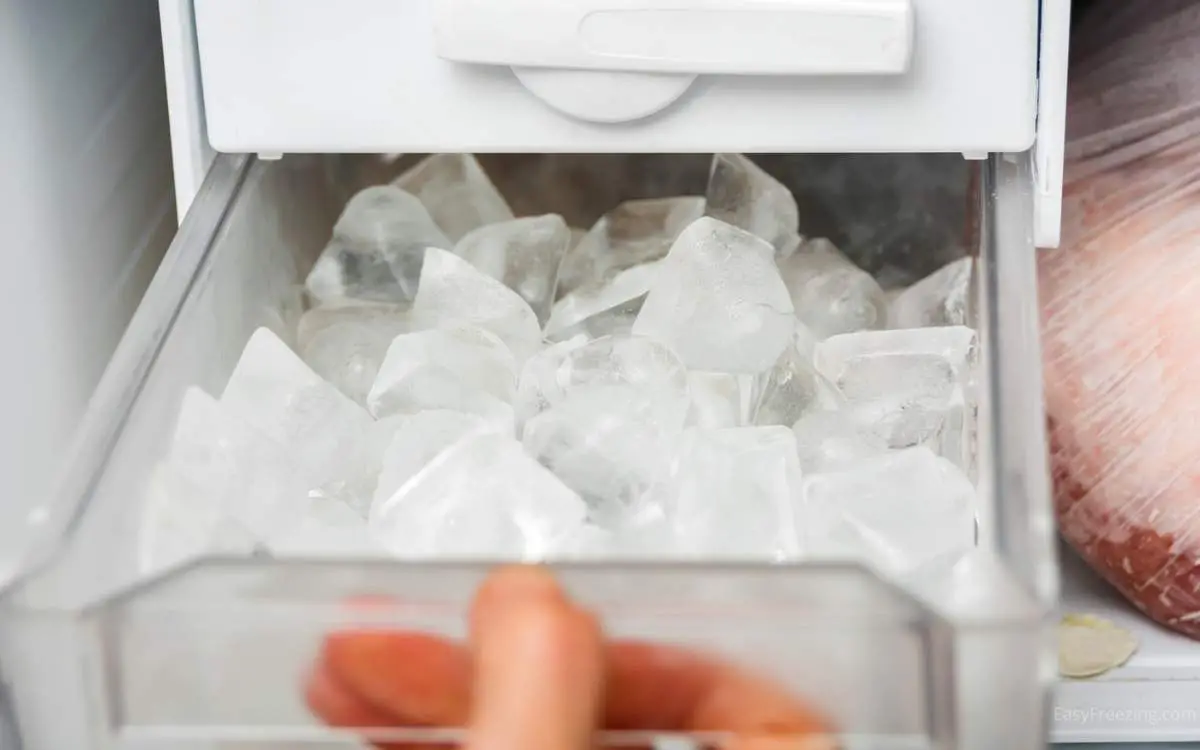
A lot of people don’t really think about cleaning their ice makers. After all, only water is going through there, right? That may be true, but you still need to keep it clean if you don’t want to be adding bacteria to your ice cubes!
Cleaning a freezer ice maker is fairly easy, and usually involves soaking the bin in soapy water and clearing ice buildup out of the machine. Thaw out any bits of ice, and then rinse the components and get everything back together. It’s pretty much that simple!
It’s important to clean your ice maker at least once a year to ensure it’s all working well and you aren’t getting any stagnant water in your ice. With that in mind, let’s use this article to look at how to clean a freezer ice maker.
Why Do You Need To Clean A Freezer Ice Maker?
You need to clean your freezer ice maker because, just like any gadget, it will gradually get debris and bacteria in it. Even though you are only adding water to it, that water will have contaminants in it that will build up inside the machine.
This is particularly true if you have hard water, which contains minerals that will get deposited on the walls of the ice maker. Even if you don’t, regularly cleaning the machine out is a must. It will ensure that your ice tastes good. If you don’t clean your ice maker often, you might notice that your ice:
Has a strange smell
Tastes funny
Doesn’t form properly
Alters the taste of your drinks
Leaves scaly bits in your beverages
Regular cleaning will stop all of this from happening, but how do you clean an ice maker? Fortunately, this is a fairly simple process that shouldn’t take a particularly long time. That makes it easy to do it frequently, ensuring that your ice always tastes fresh.
Step 1) Clean Out Your Freezer
You might not realize it, but storing smelly food in your fridge or freezer could contaminate your ice. That will make it smell funny and possibly even taste funny, so it’s important to avoid it. If you haven’t cleaned your freezer out for a while, start there, especially if it contains fish or other strong-smelling foods.
Remove anything that smells bad, wipe down the shelves, and deodorize the area with lemon juice or white vinegar if necessary.
You should also take this opportunity to consult your user manual for any specifics on how to deal with the ice bin. Some ice bins are dishwasher safe, so it’s worth checking for this, or any other tips. In general, handwashing is the safer option unless you know it’s dishwasher safe.
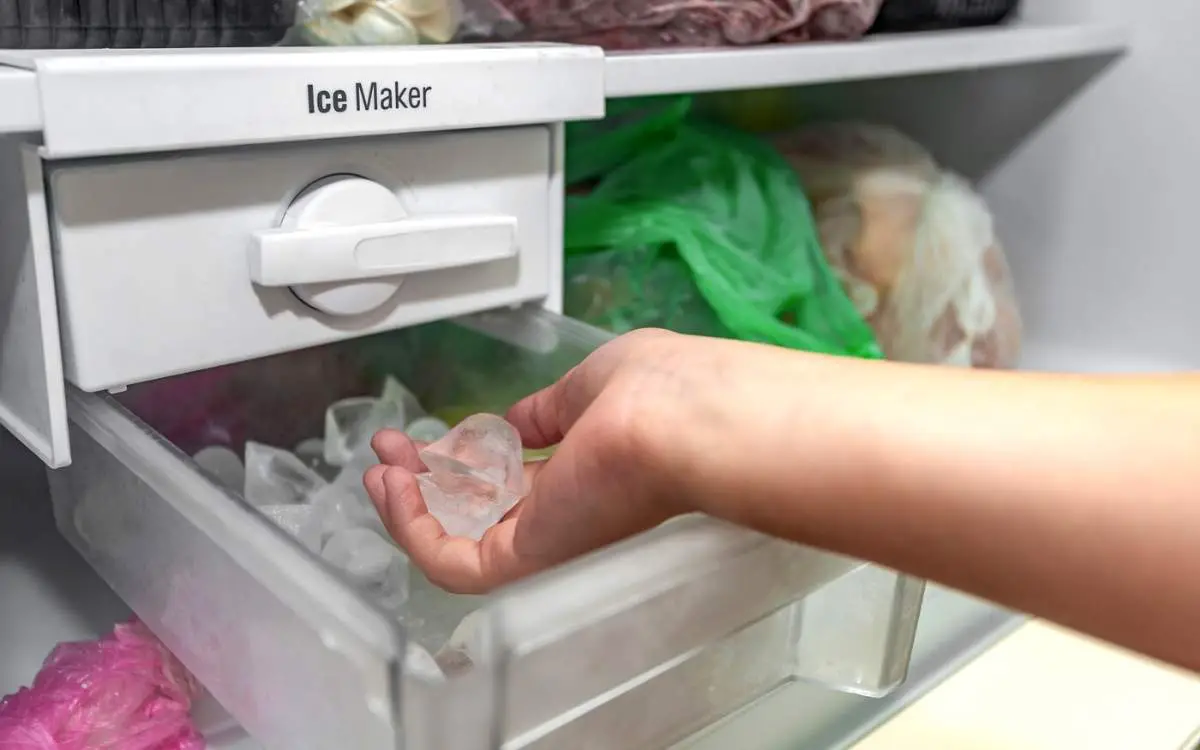
Step 2)Turn Off The Ice Maker And Remove The Bin
If your ice maker doesn’t have a separate switch to control it, you will want to turn off the freezer before you start. This reduces the risk of any issues being caused while you are handling the bin and moving things around. It stops the machine from trying to make ice while you are working in that area.
Don’t worry about things thawing; your freezer will not be off for long. The food inside will be fine.
Once the freezer is off, lift the bin out of the ice maker and set it aside. If you can easily remove other parts of the ice maker to clean them separately do so, but don’t take off anything that you can’t easily put back, and don’t open areas that are clearly meant to stay sealed.
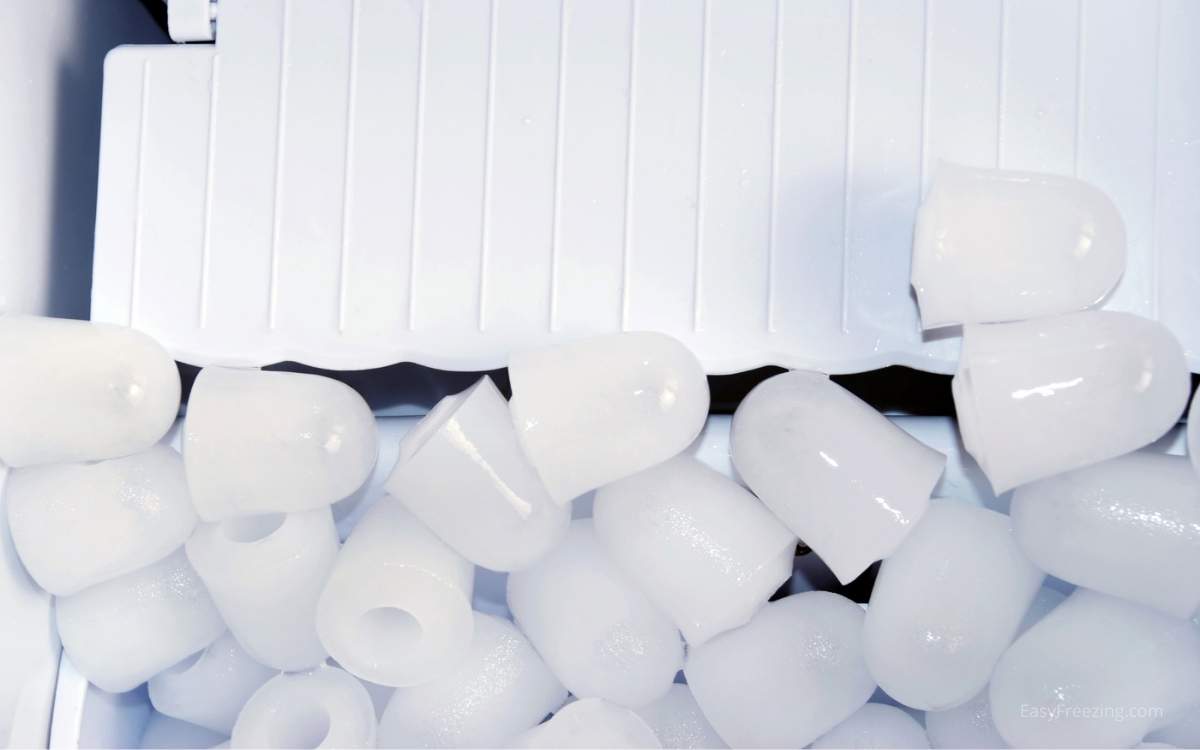
Step 3) Get Rid Of Old Ice
Any ice that is left in the bin should be discarded. You might be tempted to just toss it back in, but this ice is likely to be contaminated and it could contaminate further batches and mess up the insides of the machine again. It’s best to throw it away.
If there is any ice buildup on or inside the machine, you should also take this opportunity to get rid of it. Chip it off the machine using a blunt tool that won’t scratch the ice maker, or defrost the ice and wipe the area dry.
Step 4) Clean The Bin
Once you’ve got the bin out and got rid of the old ice, submerge it in some warm, soapy water, and let it soak for a while. You can do this with any other loose components, provided that they aren’t electrical.
You should leave the bin to soak while you move on to the next steps, and come back to it later.
Step 5) Clean The Ice Machine
Use a damp, slightly soapy rag to clean out the inside of the machine, wiping down all the parts that you can reach. You may also want to use a diluted vinegar solution, as this will help to kill bad bacteria and get rid of any odd smells in the ice compartment. Note that the smell of vinegar will quickly dissipate and will not contaminate the ice.
You can use bleach if you prefer, but vinegar is more food-friendly and less damaging to the environment, and it will also help to get rid of limescale – which bleach will not do. Another alternative for tackling limescale is lemon juice. Do not mix bleach with either vinegar or lemon juice, or other cleaning chemicals.
When you’ve finished, wipe the whole surface down again with plain water to remove the soap, bleach, vinegar, etc.
Step 6) Dry The Ice Maker
Next, take a clean towel and dry the inside of your ice maker thoroughly. Remember that any lingering water droplets will get frozen, immediately messing up the insides of the machine again. For best results, you want to get the machine as dry as possible before you switch it back on, so take your time on this.
Step 7) Finish Cleaning The Bin
Now the bin and any loose components will have had plenty of time to soak, so you can scrub them. It’s worth doing this even if the bin looks clean, because limescale and other contaminants may have built up on the edges of it.
Rinse it out and then wipe it down with some vinegar or diluted bleach to kill any bacteria. Again, vinegar is the best option if you have hard water and problems with limescale. You may need to leave it to sit for another few minutes if there is limescale, giving the vinegar time to react and clear the buildup.
Wipe it down and then rinse it out thoroughly, especially if you have used bleach. Do the same for any loose components.
Step 8) Dry The Ice Maker Bin & Any Other Components
Your next step involves making sure everything is as dry as possible before you reassemble it. You should use a dry towel or clean, absorbent cloth, and wipe down all parts of the bin and the other components.
Make sure these are as dry as they can be. You may want to put them somewhere warm for a short while to air dry even after they have been wiped down.
Check that the inside of the ice compartment is completely dry too, and wipe up any last drops. The drier the whole thing is when you put it back together, the better it will function.
Step 9) Reassemble The Ice Maker
Now, put everything back together. Insert any components that you removed for cleaning, and slot the ice bin back into place. Make sure it is firmly locked into the correct position, or the ice maker may not function properly. It should be stable and not wobble at all if it’s in the right place.
Step 10) Turn The Freezer On And Test
Finally, it’s time to turn the freezer back on and test whether you have been successful. You should now have fresh, clear ice that looks and smells normal and doesn’t add any bits of debris to your drink.
If you do notice any issues with the smell or taste of the ice, repeat the process and make sure you have thoroughly wiped away all traces of vinegar, bleach, or soap before you reassemble it all.
How to Properly Clean a Freezer Ice Maker – Conclusion
These 10 easy steps should hopefully be everything you need in order to make your ice maker function perfectly once more. You should aim to do this a couple of times a year for maintenance, and any time that you notice a strange smell or funny taste in your ice.
")
")
")
")
")
")