7 Easy Steps to Freeze Potato Latkes (Cooked & UnCooked)
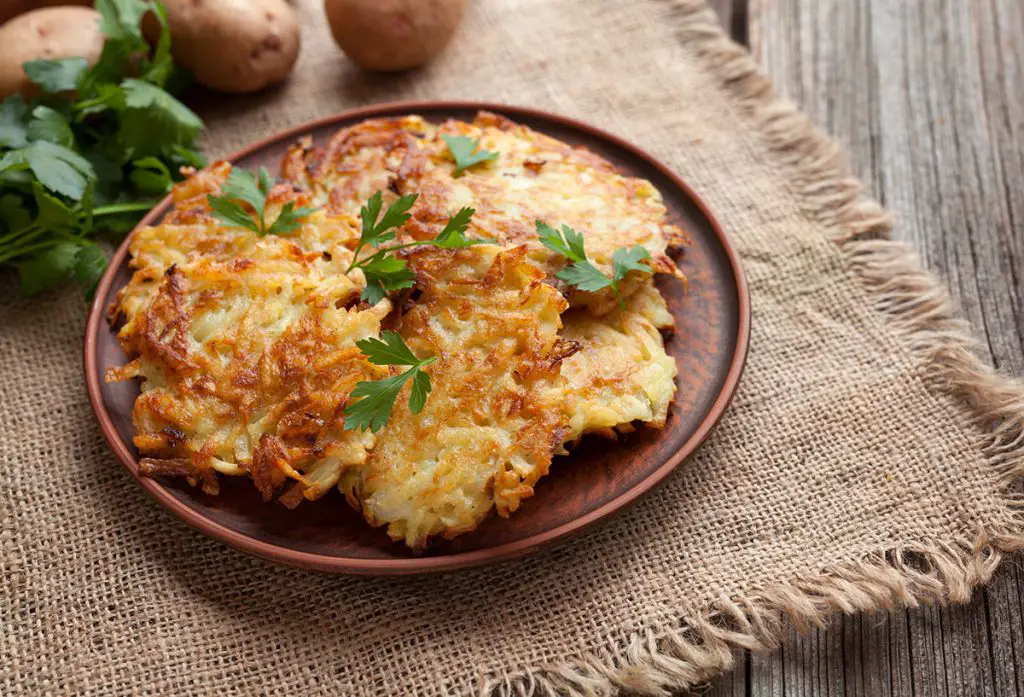
Latkes are a traditional Ashkenazi Jewish dish made with fried potato, onion, and occasionally other ingredients such as zucchini or cheese. Latkes are best when served fresh, but can you freeze latkes to save them for later?
You can freeze cooked latkes to preserve their texture and flavor. Simply freeze in a single layer on a baking sheet, then transfer to a sealable bag or storage container. Latkes can be stored in the freezer for up to two weeks. Uncooked Latkes can also be frozen in advance to save time later.
While they’re a classic dish at Hanukkah, freezing latkes makes them easier to enjoy year-round! Read more about the best method to freeze and reheat latkes for the perfect savory crunch.
How To Freeze Latkes (Cooked)
To perfectly freeze your cooked Latkes (potato pancakes), follow these easy steps:
- Start with freshly fried latkes, and don’t refrigerate. Refrigerating latkes can cause them to become dense and soggy, making it difficult to regain their fresh crispy texture. For best results, use latkes fresh from the frying pan.
- Allow the latkes to drain and cool completely on a paper towel. This step may require some patience, but it is important for the latkes to drain off any excess oils and thoroughly cool before freezing. Too much oil or moisture from steam can cause frozen latkes to become soggy upon reheating.
- Line a baking sheet with parchment paper. Be sure to use a baking sheet that is small enough to fit in your freezer. If you do not have a pan in the right size, you can use a plate or large glass dish as an alternative.
- Place the latkes on the baking sheet in a single layer and cover with plastic wrap. The latkes should be evenly spaced and not crowded on the baking sheet or plate. Covering with plastic wrap will help to keep the latkes from shifting during transfer to the freezer. If you notice steam or moisture building under the wrap, remove the plastic wrap and wait longer for the latkes to cool completely.
- Place the baking sheet and latkes in the freezer. Pop the covered baking sheet into the freezer and wait at least 4-5 hours for latkes to freeze.
- Transfer to a resealable bag or container. This step is optional and not necessary if you’d like to place the pan of latkes directly in the oven, such as at a dinner party. To save space in your freezer, the latkes can be transferred to a resealable plastic bag or storage container. For best results, keep the latkes in a single layer and avoid overcrowding.
- Keep in the freezer for up to two weeks. While the latkes will be safe to eat for up to a few months, they’ll best retain their texture and flavor for up to two weeks. If left in the freezer too long, they may become freezer-burnt.
Keep in mind, while you can certainly freeze latkes, avoid storing them in the refrigerator. Refrigeration will cause latkes to lose crispness and become gummy. For the best results, start with freshly fried latkes and allow them to cool completely before freezing, then reheat directly from the freezer.
How to Reheat Frozen Latkes
Now that you’ve successfully frozen your cooked latkes, you’ll need to follow the best method to reheat before serving. This will ensure that your frozen latkes will have flavor and texture as close as possible to fresh latkes:
- Preheat the oven to 400°F (205°C). Allow the oven to preheat completely before removing latkes from the freezer. Do not thaw the latkes before reheating.
- Arrange latkes in a single layer on a lined baking sheet. If you’ve stored your latkes in a bag or plastic container, remove them from the container and arrange evenly on a lined baking sheet. If you’ve kept the latkes stored on their baking sheet, simply remove the plastic wrap before baking.
- Bake for 10–15 minutes, flipping halfway through. For the best results, flip the latkes halfway through their cooking time (approximately 5-10 minutes). This ensures all sides of the latkes are dry and crispy.
- Remove when latkes are hot, golden-brown, and crispy. Baking time may vary. Remove the latkes when cooked thoroughly, soft in the center yet crisp on the outside.
- Garnish and serve immediately. Latkes are best served hot and fresh! Although they can be frozen and reheated, be sure to serve these savory treats as quickly as possible.
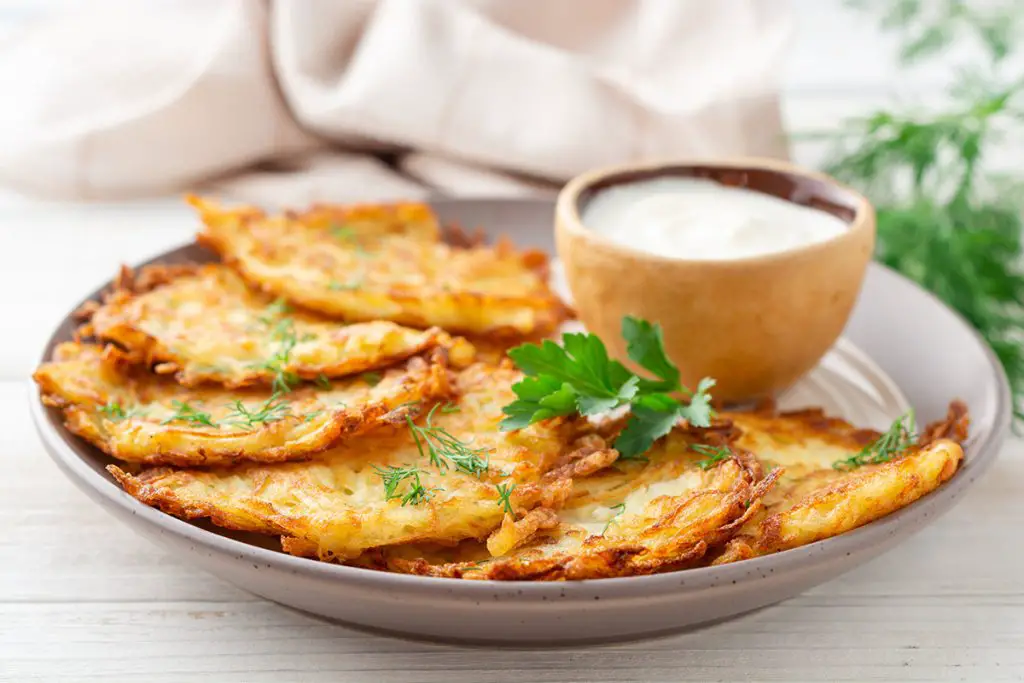
To highlight the flavors in your latkes, garnish with sliced green onion and pair with sour cream or applesauce! As a Hanukkah dish, dinner party snack, or kept all to yourself, latkes are sure to be a household hit.
Can You Freeze Uncooked Latkes?
If you’d like to save time by doing some advanced prep, you can always prepare the Latkes up to the point just before you fry them. You can then freeze the entire amount in one dish. This way you can thaw the mixture, separate it into individual Latkes and fry when convenient.
If you’re going to go this route there are a couple of things you’ll need to know.
- It will be best to leave out the other ingredients such as onions when freezing and add them after the dish has thawed. Raw onions do not freeze well.
- You’ll need to remember to take the Latke mixture out of the freezer and place it in the refridgerator the night before you want to fry the Latkes. As the Latke mixture will be frozen into one lump, it will take many hours in the fridge to thaw.
To freeze uncooked Latkes you may want to experiment a bit and see if you like the result. Having said all that, you will generally end up with a better result by freezing cooked Latkes.
Conclusion
By freezing your Latkes, you’ll be able to enjoy your potato cakes for much longer! Freezing Latkes ahead of time also makes cooking easier for dinner parties and holiday celebrations, and they can even be stored right on the baking sheet!
")
")
")
")
")
")