The most important ingredient to ensure an excellent loaf of homemade sourdough bread is to use a good sourdough starter.
While, it’s definitely not easy to create and maintain a sourdough starter, it is worth it when you get a fresh loaf of sourdough as the end product. So, how can you reduce the amount of effort you put into your sourdough starter while ensuring that you have starter available whenever you’re ready to bake?
I’d suggest freezing your sourdough starter when you have some leftover from a current batch. That way, you’ll be ready to go when you want to make a few more loaves!
In this article, I will tell you all about how you can save time and effort by properly freezing a sourdough starter for later use. Let’s get started!
How Well Does Sourdough Starter Freeze?
It might seem peculiar, given a sourdough starter is quite literally living yeast, but contrary to popular belief, sourdough starter does actually tend to freeze quite well. It cannot be classified as an easy process, as the yeast needs a lot of TLC, especially when it needs to be thawed out, and there is always the fear of killing some of the yeast, but the process can definitely be worth it!
Especially if the only other option is to throw away a starter you’ve already spent time and effort making. In this case, I would definitely recommend freezing it.
Sourdough starters can be frozen for up to a year. The live yeast will go into a state of hibernation, allowing it to survive the freezing process. Freezing sourdough starter is definitely achievable, however, it is a rigorous process. In addition, the sourdough starter requires food as well as time to regrow before it can be used.
Having said that, sourdough starters freeze really well overall. Let’s take a look at all you need to know before you freeze a batch of sourdough starter.
Freezing Rather Than Feeding Sourdough Starter
Making sourdough starter requires a lot of work, which is why many bakers avoid creating this kind of bread. Also, depending on the season as well as your kitchen’s temperature, sourdough starters will need to be fed on a daily basis (sometimes twice a day).
In other words, sourdough starters require ongoing care and attention on a regular basis, or the yeast will die.
The solution to this is to keep the starter at a cooler temperature, which slows down and regulates the yeast’s activity. This is why freezing a starter is the perfect option for someone who only bakes bread occasionally but would like to keep a bread starter going for the occasional bake while avoiding the constant upkeep that a sourdough starter requires.
Keeping a sourdough starter cool and inactive can be carried out in one of two ways: refrigerating or freezing. Both methods will preserve the organisms inside, and as soon as they are thawed and returned to a feeding schedule, the yeast will be as lively as ever!
Sourdough Starter Storage: Frozen vs. Refrigerated
The decision on whether to refrigerate or freeze sourdough starter depends on how often you plan to bake sourdough bread. If you plan on making sourdough loaves every couple of weeks or once a month, then refrigeration is the way to go. If you need sourdough starter less frequently, it makes more sense to freeze it.
In the case of freezing, the starter does not need to be fed as it becomes dormant, quite literally like a bear hibernating during the winter. It will not require added flour or water while it’s in this state.
Refrigerating Sourdough Starter
When refrigerating your sourdough starter, you will need to plan out your baking schedule. It is best to allow approximately 2-3 days for the starter to warm up and become active again after being refrigerated.
During this time, ensure the starter is being fed to give it a nice jump start, thus leading to a successful first loaf.
Refrigerating and Reactivating Sourdough Starter
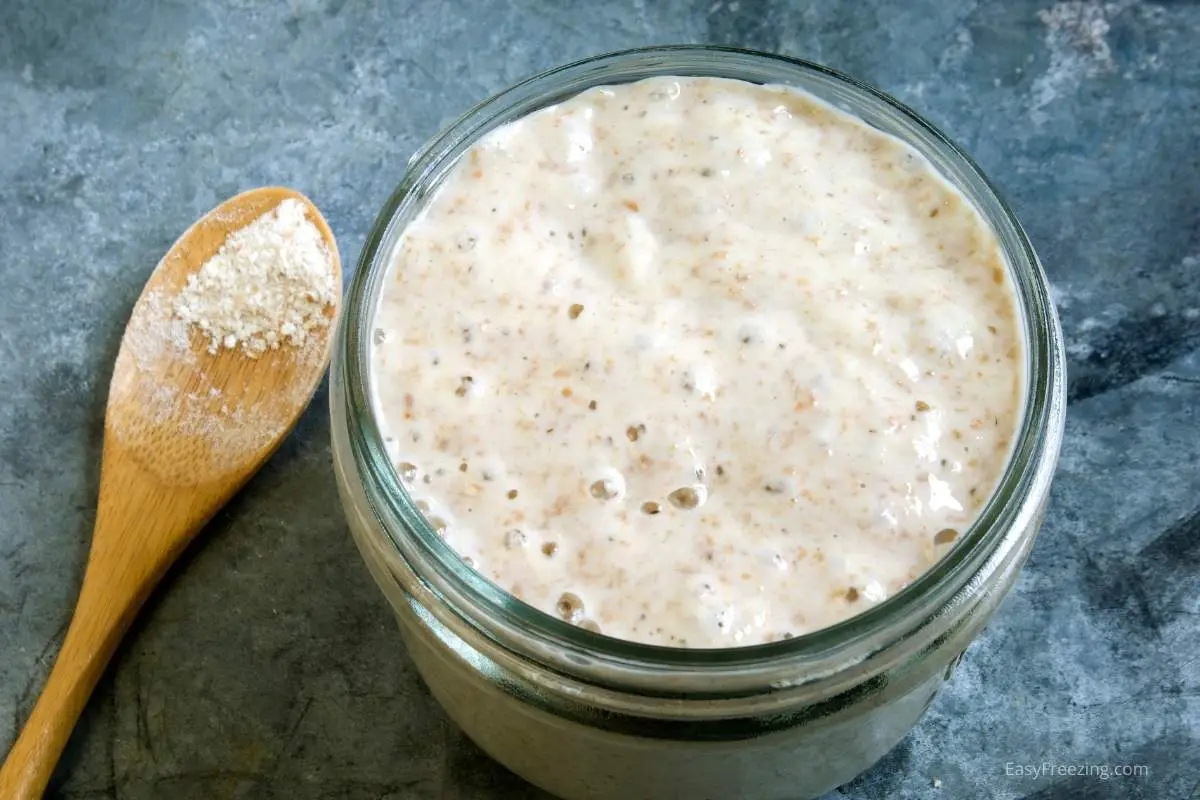
First, start by placing one cup of sourdough starter in a jar with a tight seal lid.
If the starter is thin or runny, it ought to be thickened up by adding 2 parts flour and 1 part of water.
Once the consistency is sorted out, you can seal the jar and find the coldest area in your fridge to store it.
This step is essential: make sure to feed the sourdough starter once every month!
Lastly, when the time comes to bake with it, remove the starter from the fridge, feed it, and allow it to warm up for a couple of days to make sure it has been completely reactivated.
Freezing Sourdough Starter
Freezing your sourdough starter is the optimal solution if you want to use it only occasionally. While refrigerating the starter slows down the activity of the yeast, putting your sourdough starter in the freezer will stop the activity of the yeast completely.
When freezing your starter, you will need to plan your bread baking well in advance. Since the sourdough starter will get much colder in the freezer than in the fridge, I’d recommend removing the starter from the freezer a full week in advance of your next bake.
Feeding and letting the starter thaw and warm up for a week will make sure that the yeast has come back to a completely active state.
Freezing and Reactivating Sourdough Starter
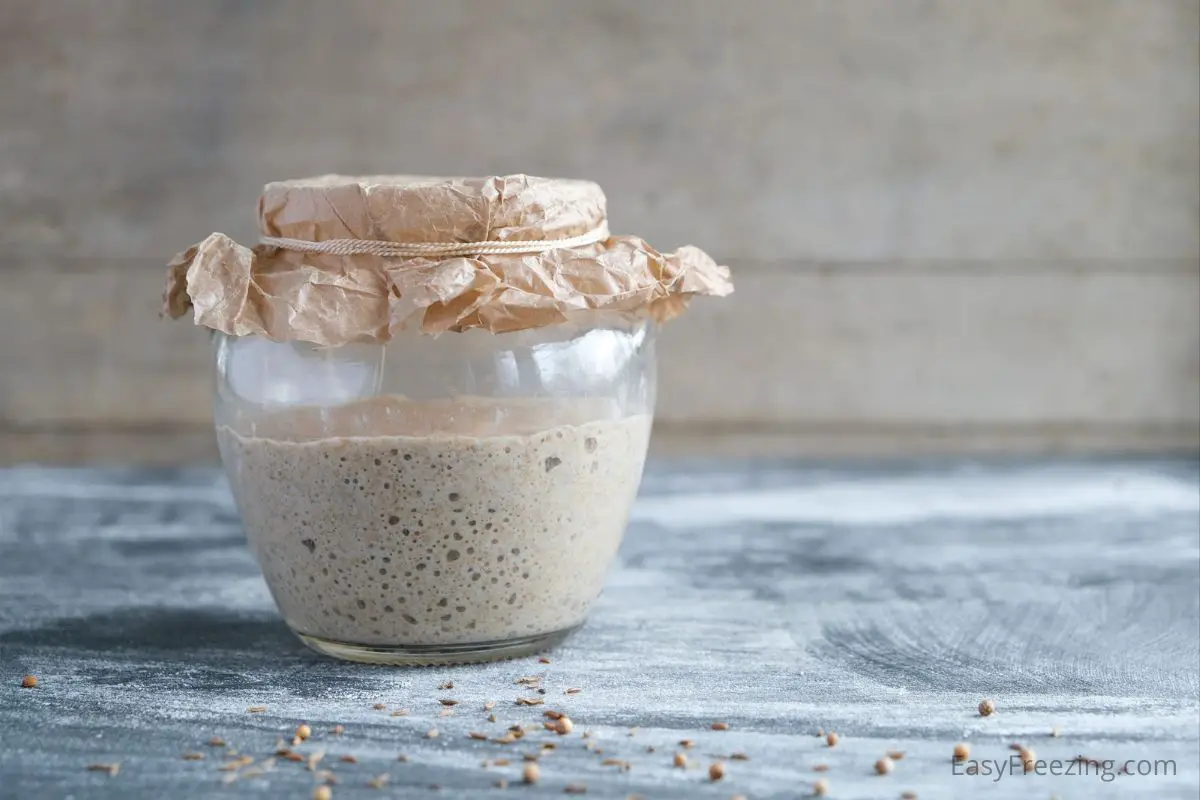
Start by freezing one cup of sourdough starter in a freezer-safe resealable plastic bag or jar.
Place the starter container as far back in the freezer as possible so that it isn’t affected by people opening the freezer door and letting warm air in.
When you are ready, you can remove the starter from the freezer and let it thaw at room temperature. Once it has thawed considerably, be sure to feed it while it continues to warm up and activate.
Bringing Out A Sourdough Starter From Hibernation
Your sourdough starter needs food as it begins to thaw or warm up. Yeast, like us humans, is a very hungry organism, and so it requires nourishment in order to come out of a state of hibernation. Because of this, it is integral that the starter is put on a feeding schedule before being used to make a loaf of bread.
The time needed for thawing sourdough starter is dependent on the particular starter itself and the temperature of the kitchen it will be used in. It may be ready for use in 2-3 days, or it can take as long as a week.
The key is to ensure it has been revived to an actively growing state, like before it was put in the freezer.
Steps to Activate Your Sourdough Starter
On day 1, remove the starter from the fridge or freezer. Once it has reached room temperature, proceed to discard approximately half of it. Start feeding it as normal and, if necessary, feed it again later in the day. For example, once in the morning and once at night.
Proceed by continuing the feeding process of the starter as needed until it has fully reactivated.
Once the growth activity is stable and noticeable, the starter is ready to be used for baking bread!
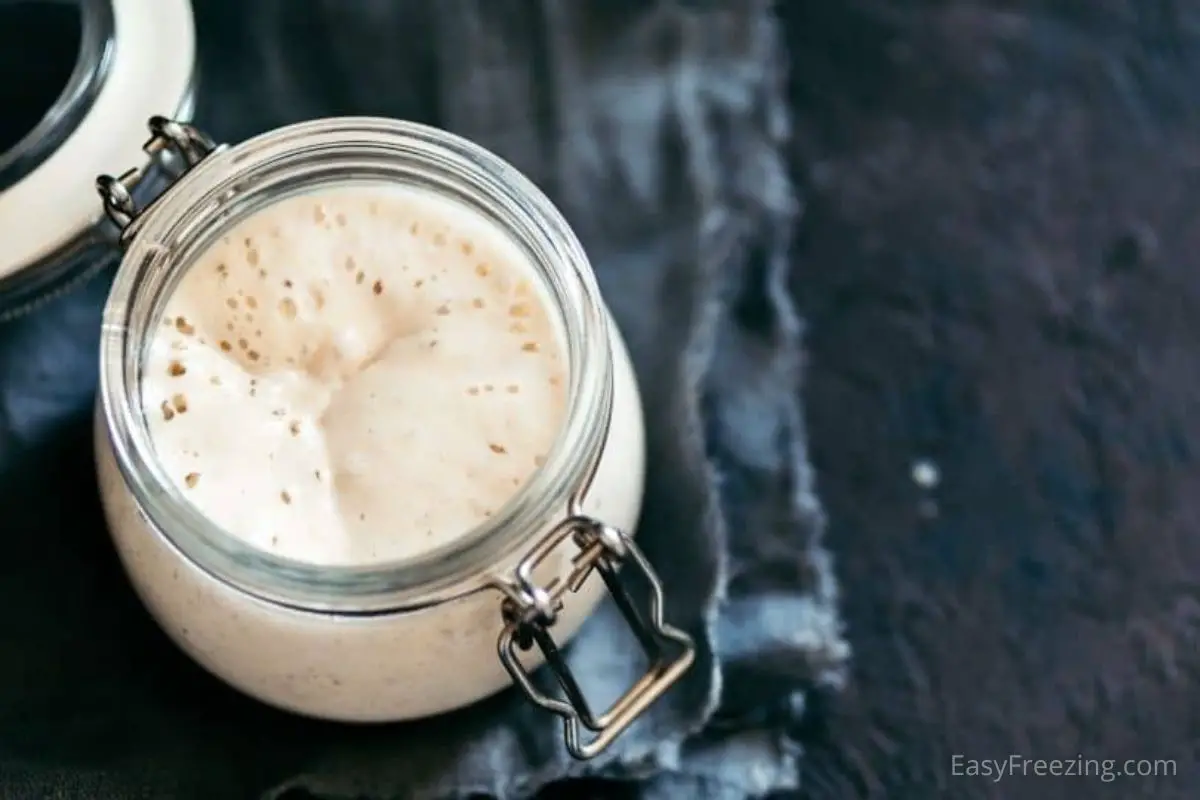
The final step above (step #3) is key in knowing whether your sourdough starter is ready for breadmaking. A starter with an active culture of yeast will begin to look foamy or bubbly on top. Also, the volume of the starter should be growing in size.
Once these two conditions are met, you can be assured that your starter is ready to use.
The process is one to keep a close eye on as it requires a certain amount of action on your part, but it will save you the heartache of trashing a batch of starter. It will also save you from the process of needing to make a sourdough starter from scratch!
Including freezing, here are 3 ways to put your sourdough starter on pause.
Freezing Sourdough Starter – Conclusion
So now you know that you can freeze sourdough starter and how to go about it. Freezing sourdough bread starter requires a little bit of effort, but it is significantly less than starting from scratch.
Mmmm, I can practically taste that yummy sourdough bread already!
")
")
")
")
")
")