It’s that time of year again when the farmers’ market is overflowing with fresh corn on the cob. If you’re like me, you can’t resist buying a few extra-large ears of corn to have on hand for those summer BBQs and picnics.
No BBQ party is complete without fresh sweet corn. But what do you do with all that corn once the season ends?
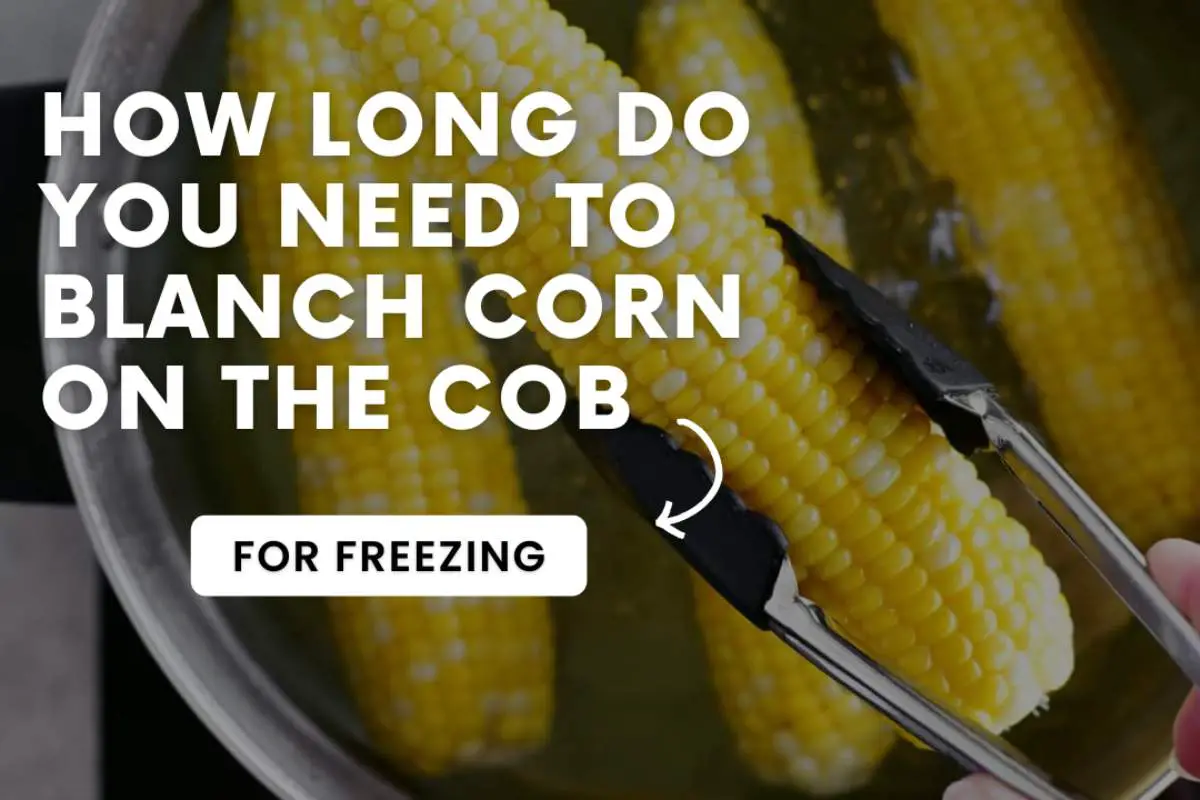
Did you know that you can blanch corn on the cob and freeze it for up to six months? You can enjoy fresh corn throughout the winter with just a little planning and preparation. But how long should you blanch corn on the cob for freezing?
In general, you should blanch corn on the cob for approximately 3 to 5 minutes. This is enough time to stop the corn’s natural enzymes from degrading the color, taste, and nutritional value of corn on the cob when it is frozen.
This article will give you all the information you need to know about how to blanch corn on the cob for freezing properly. I’ll discuss blanching, why it’s important, and give you more details about how long you should blanch your corn for optimal results.
What Does it Mean to Blanch Corn on The Cob?
In blanching, you cook corn on the cob in boiling water for a short time. You do not fully cook the corn, you’re only partially cooking the corn cobs.
Corn contains natural enzymes which can cause it to lose color, flavor, and nutrients over time when frozen. Blanching corn on the cob before freezing it will help stop the action of these enzymes.
Why is Blanching Corn on the Cob Important Before Freezing?
Blanching is an important step before freezing corn on the cob because it helps preserve the vegetables’ quality. Without blanching, frozen corn can become mushy, lose color and taste, and develop off-flavors.
Blanching corn helps retain the nutrients as well as the vibrancy of the vegetable.
How Long Should You Blanch Corn Cobs for Freezing?
The general rule of thumb is to blanch corn on the cob for three minutes to stop the action of enzymes, set the pigment, and preserve the corn’s nutritional value, color, and flavor when you freeze it.
Tips for Blanching Corn on the Cob
Here are some important tips for blanching corn on the cob successfully:
Use a Large Pot For Blanching Cobs
You’ll want to use a large pot of boiling water for blanching corn on the cob. You’ll need about 1 gallon of water per pound of corn. If you use too little water, the corn will not cook evenly and may become overcooked in spots.
Boil the Water Before Adding the Corn
Add corn to already boiling water. This will ensure the corn cooks evenly. Once the water is boiling, carefully add the corn to the pot. Use a large spoon or tongs to lower the corn into the water without splashing.
Start the Timer As Soon As the Corn Goes Into The Water
Start a timer as soon as the corn goes into the boiling water. This will help you to ensure that the corn is properly blanched. You don’t want to blanch corn on the cob any longer than the allotted time.
Don’t Overcrowd The Pot
Don’t overcrowd the pot. If you add too many corn cobs to the pot at one time, the water will not be able to circulate properly, and the corn will not cook evenly.
Quickly & Carefully Remove The Corn From The Water
Once the corn has been blanched for the proper amount of time, carefully remove it from the boiling water and immediately transfer the blanched corn to a large bowl of ice water.
This will make sure that the cooking process is quickly stopped. Let the corn cobs sit in the ice water for 3-5 minutes. This step will help to ensure that the corn doesn’t continue to cook once it’s removed from the boiling water.
Pat The Corn Cobs Dry With A Paper Towel
Once the corn cobs have cooled, remove them from the ice water and pat them dry with a paper towel. This will help to remove any excess moisture from the corn.
Allow the corn to fully air dry before you begin the freezing process. Any residual moisture will damage the corn cobs once frozen.
Place The Corn In A Freezer-Safe Bag Or Container
Carefully cut the corn kernels off the cob. This is much easier to do now before freezing. You can use a sharp knife or a corn cob cutter. Place the cut corn in a freezer-safe bag or container. Be sure to label the freezer bag or container with the date and contents.
Before sealing, squeeze out as much air as possible from the freezer bags or containers, which will help prevent the corn from getting freezer burned.
Freeze The Corn For Up To 6 Months
You can store the corn in the freezer for up to 6 months. When ready to use, simply thaw in the refrigerator overnight and then cook it according to your recipe. There’s no need to blanch it again.
You can also skip the thawing process and add your frozen corn kernels directly to soups and other dishes you’re cooking.
Tips To Freeze Corn On The Cob
Freezing fresh corn on the cob is an ideal way to enjoy sweet summer corn all year long. While it’s best to enjoy corn on the cob while it’s in season, freezing allows you to enjoy it out of season, as well. Here are a few tips for freezing corn on the cob:
Select Only Fresh Corn to Freeze
The best corn for freezing is fresh, quality, in-season corn. Avoid corn that is old or past its peak. The corn should be bright yellow, and the kernels should be plump.
Another good indicator of freshness is the husk. The husks should be green and tightly wrapped around the corn.
Remove The Husk And Silks From The Corn
Remove silk and husk from the corn. Be sure to remove all of the husks and silks before blanching and freezing, as they can harbor bacteria.
Blanch The Corn Before Freezing
To kill bacteria and preserve the color and flavor of the corn, blanch it in boiling water for about 3 to 5 minutes before freezing it.
Do not over blanch the corn. Fully cooked corn will become mushy when thawed. If you are boiling the corn, cook it for 3-5 minutes. If you’re grilling or roasting the corn, cook it until the kernels are tender but still crisp.
Cool The Corn Before Freezing
Cooling the corn before freezing is important to prevent freezer burn. If you are boiling the corn, blanch it in cold water. This will stop the cooking process and preserve the corn’s quality.
How To Cook Frozen Corn Cobs
There are many ways to use frozen whole cobs. You can thaw them and eat them as is or use a corn stripper (Amazon) to remove the kernels and add them to soups, stews, or casseroles. You can also use them in place of fresh corn in recipes.
Here are some ideas for using the corn that you’ve frozen:
Add it to soups or stews for extra flavor and nutrition.
Use it in place of fresh corn in bread recipes.
Add it to casseroles or pasta dishes for added flavor and texture.
Sautee it with other vegetables for a quick and easy side dish.
Grill or roast it for a smoky flavor.
No matter how you choose to use it, blanching and freezing corn on the cob lets you enjoy fresh corn all year long.
Is There a Way to Freeze Unblanched Corn on The Cob?
Yes, you can freeze unblanched corn on the cob. Although it is best to blanch the corn before freezing it, you can freeze it without blanching it.
Simply place the corn kernels in a freezer-safe bag or container and label it with the date and contents. Squeeze the excess air out of the bag or container before sealing.
Check out the difference between freezing corn on the cob that has been blanched versus unblanched.
Time To Blanch Corn On The Cob For Freezing – Conclusion
Blanching corn on the cob is a simple process that only takes about 3-5 minutes. Following the tips above, you can ensure that your corn is properly blanched and retains its color, taste, and nutrients.
You can also blanch and freeze corn kernels to enjoy fresh corn all year.
Whether you choose to blanch and freeze your corn or not, enjoy it while it’s in season. Corn on the cob is a delicious and healthy summertime treat you should not miss out on.

")
")
")
")
")
")